
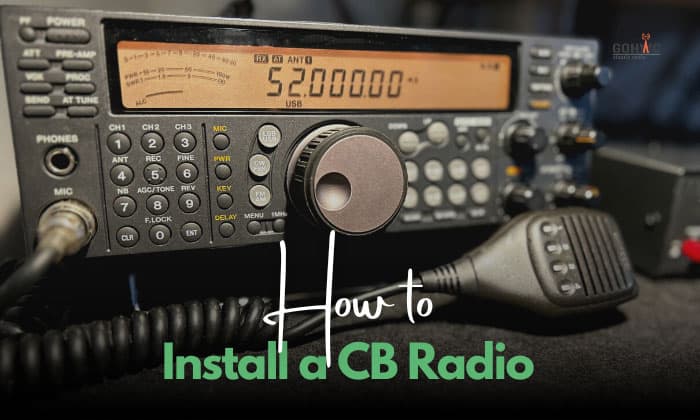
Anyone can own a citizens band (CB) radio because it does not require a license. It’s good equipment for those who want to be gaga with radioing. CB radio installation is easy but not hassle-free.
The process is rather easy, as you should know where to put the radio and antenna in your vehicle. Then, make sure to tune the antenna using a standing wave ratio (SWR) meter. Next, connect the antenna and radio with a coaxial (coax) cable. And make sure to link the unit to a power source to finish the task.
Contents
CB Radio Overview
CB radios have been around since 1945, thanks to inventor Al Gross. He also introduced walkie-talkies and pagers to the world. Gross improved mobile wireless communication, with his inventions benefitting millions.
CBs mainly serviced soldiers during World War II and were improved for two-way radio contact after the war. CBs don’t require a license, so they can be used for personal communication, whatever your age and skill level.
However, it has a limited range of five (handheld) to 50 miles in at least 40 channels, operating in frequencies of 26 to 27 megahertz and four watts of power. The line is not always clear but will suffice short-distance communication needs.
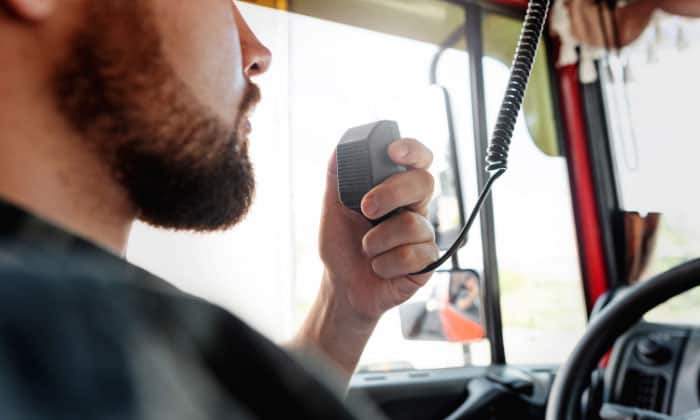
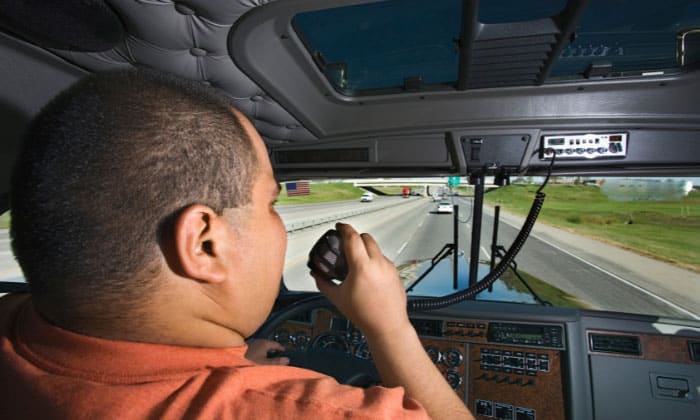
Aside from radio hobbyists, CBs are often seen in truck setups and used by drivers for efficient navigation. Truckers use the radio to alert each other about traffic jams, weather disturbances, road obstructions, etc.
CBs can also be set up in base stations, common among amateur radio enthusiasts. There are also handheld units used in some workplaces or in your house, if it’s that big.
How to Install a CB Radio
You don’t need to pay for installers because you can easily set up your CB radio. Whether you’re putting it in a semi or base station, here are the instructions:
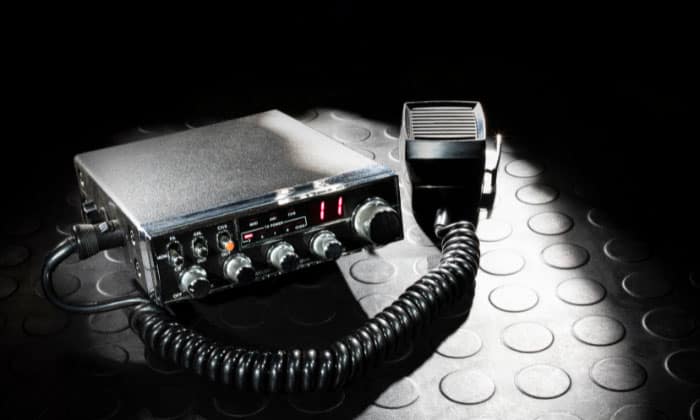
1. Position the radio

There are two places to put a radio: a fixed station or a vehicle. When installing it in the latter, it should not be hidden.
Your radio should be accessible, especially when driving. Fix it in or on the dashboard, not behind the steering wheel or at the level of the shift stick. Putting it in the said places might distract your driving.
Some people place it at the level of the rearview mirror, which is not advisable because the microphone might dangle. Don’t put it near the cup holder as its electronics might get compromised by liquid and constant movement.
Lastly, don’t let it obstruct the airbags.
Remember this: your radio should be accessible at all times.
2. Fix and tune the antenna
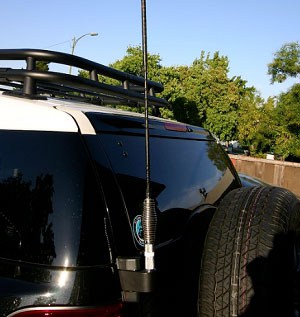
It’s time to mount the CB antenna. Common sense dictates that its tip is exposed to receive a signal.
There are four mounting positions in your vehicle.
- The center of the roof is the ideal position. Though not anyone is comfortable drilling or altering this area, mounting the antenna atop the vehicle will easily give drivers 360-degree radio coverage.
- Pickup truck drivers can use their vehicle’s toolbox (assuming they have one) as a mount. It’s effective if the toolbox is high enough that the antenna can reach over the roof.
- Alternatively, you can use the pickup’s stake holes as platforms. If positioned behind the cab, the antenna should be at least four feet high. However, it’s ideal to place it by the driver’s side for good latency (or the time required for the antenna’s reception/transmission with the radio).
- Another mounting pad for antennas is the hood, though not anyone is comfortable drilling a hole into it.
Those who want a strong signal can install twin antennas. This setup costs more, but worth it. After all, two is better than one.
3. Tune the antenna

Tune the antenna with an SWR meter, a device that measures the strength of your radio’s transmit signal as it travels through the antenna and to the atmosphere, helping you gauge the mismatch between the two, if any.
The meter troubleshoots problems in the radio/antenna. Treat it as a diagnostic device so you can use the antenna at its maximum potential.
To operate it, follow these steps:
- Choose a clean channel or frequency.
- Reduce the transmitter’s output power.
- Choose a mode switch (AM, FM, etc.) with constant output.
- Set the switch to forward (FWD) and then turn the knob to calibration (CAL) to avoid overloading. In the FWD position, forward power travels to the antenna or load.
- Adjust the knob as needed during transmission, but make sure the CAL is 100 percent.
- Set the switch to the reflected (REF) position, which indicates the power not absorbed by the load as it returns to the transmitter.
- Stop the transmission and check if the reading is within the ideal range (more on this later.) You can repeat the process in other channels or frequencies.
The perfect but impossible SWR is 1.0, or when the load absorbs all the power from the transmitter. A reading between 1.2 and 1.3 should be your target, but you can go as high as 1.8.
Reaching 2.0 is too high, even as most transmitters will still work fine with this reading, while hitting 2.5 and above will damage a unit.
4. Connect the antenna and radio
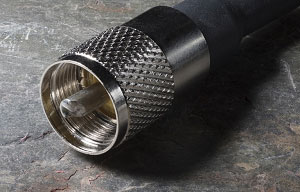
After working with the SWR, it’s time to connect a CB radio to the antenna. You’ll deal with power wiring in this part, starting with a coax cable, which links the antenna to the transmitter.
Find coaxial cables at least 18 feet long so you’ll have enough to make the connection clean, away from other electronic wires, which might cause interference.
Look for a thick and insulated coax to protect it from extreme weather conditions, foreign objects, etc. The coaxial connection might affect the antenna’s performance, so don’t rush this part.
Check out this table for cable options.
| Cable | Diameter | Impedance | Velocity Factor | dB/100 ft CB | dB/100 ft 2M | dB/100 ft 70cm | dB/100 ft GMRS | Best for |
| RG58 | 4.95 mm | 50Ω | 0.66 | -2.3 dB | -5.5 dB | -9.9 dB | 10.2 dB | CB |
| RG8X | 6.1 mm | 50Ω | 0.82 | -1.9 dB | -4.4 dB | -8.1 dB | -8.4 dB | Value/
performance |
| RG8/U | 10.3 mm | 50Ω | 0.84 | -1 dB | -2.4 dB | -4.4 dB | -4.5 dB | Long runs w/o bends |
| RG59 | 4.95 mm | 75Ω | 0.66 | -1.7 dB | -4.0 dB | -7.3 dB | -7.5 dB | Dual CB antenna only |
5. Wire CB radio to fuse box or other power sources

Whatever your unit, from an unknown brand to the popular Uniden CB radio, wiring it is your setup’s lifeline. The tinkering might involve a few head scratches, but you can do it yourself, saving you installation cost from technicians.
The transmitter needs a power source, and it can be the vehicle’s battery, fuse box, or the cigarette plug, with the first being the better choice.
Even without a wiring diagram, you can electrify your radio. It has two wires: red (positive) and black (negative), which link to the battery’s respective ports. Though it’s the ideal setup, it demands more cables and fuses not included in a standard CB radio wiring kit.
Connecting it to a fuse box is another option, so long as it has a space for additional wires. Otherwise, use a fuse tapper.
A CB radio setup powered by a cigarette plug is perfect for those who don’t want to mess with the default setup of the battery – adding cables here and there. However, not all CBs are compatible with this method due to varying amperages (the cigarette plug works with 10-20 amperes.)
Whatever the method, ensure that any additional cables are properly connected, there are no damaged wires, the fuses are well-placed, and everything is compatible with the CB radio receiver and battery/cigarette plug.
After powering your radio, test it in as many channels or frequencies and as many varied areas as you like.
Factors to Consider Before Installing
Before you can set up and use a CB radio properly, take note of the following factors for an optimum radioing experience.
- The transmitter should be away from heat and within reach (no obstructions). Meanwhile, its cables should not be near other wires that might cause interference.
- The location of the antenna – or antennas – matter, and its height is vital in your radio’s reach. Furthermore, its mount should be sturdy, and its tip not covered.
- Use the coax cable (see table above) compatible with your needs and expected usage.
For any CB installation, choose the compatible radio model and size. For instance, off-road vehicles have limited space, so a compact type suits them, while recreational vehicles (RV) can accommodate radios with front-mounted speakers.
CBs have different features, so consider what type to buy depending on your needs (or wants). Here are some features:
- Weather alerts from the National Oceanic and Atmospheric Administration (NOAA)
- Radio frequency (RF) gain adjusts reception sensitivity
- Squelch lessens background static noise
- Automatic noise limiter (ANL) reduces unwanted static or interference
- A public address system, like the ones used in police mobiles
- Backlit display for nighttime drivers
Tips for Optimal Performance
If your antenna is already in a good position, but you still want to improve the signal even after tuning, increase its height. It will give your unit more range because the rule dictates that the higher the antenna’s position, the farther its line of sight.
However, increasing the height means a longer cable, which might affect the coaxial connection. As such, only consider this after ensuring the SWR reading is still optimal.
CB Radio Maintenance and Troubleshooting
You can troubleshoot your CB radio if it is hounded by issues, saving you from installation services expenses.
If your unit is not powering on, try another power source (fuse box, vehicle battery, or cigarette plug) to rule out the issue. Make sure that all cable wires are properly linked and without damage. If the problem persists, you might have a defective radio that needs replacement.
If there’s persistent noise in your frequency, turn on the ANL of your unit, if there’s one. As previously mentioned, there’s a big chance of interference when the coax cable is parallel to other electronic wires. Alternatively, CB noise filters can help you solve the problem.
If your SWR reading is beyond ideal, even if the meter is properly connected, adjust your antenna until the digits are close to the recommendation.
Furthermore, use a no-ground plane antenna for vehicles with fiberglass shells or coating and those without metallic chassis. Using a non-NGP in such cases will result in high SWR readings and poor radio performance.
Constantly conduct readings to ensure good CB performance. Lastly, regularly check your cables, antenna, and transmitter for possible issues, like wear and tear.
Frequently Asked Questions

How long does it take to install a CB radio?
Allot an hour when installing a CB radio, especially since it will take time when doing an SWR reading. It will take more if you’re diligent in reading the installation diagram.
How much does it cost to install a CB radio?
Prepare around $50-$100 when you want a technician to install your unit. Otherwise, familiarize yourself with this “how to set up a CB radio” guide to save moolah.
What are the legal requirements for CB radio installation and usage?
Unlike hams, CB radio ownership doesn’t require a license. However, there are some restrictions to keep in mind:
- It is prohibited to increase your transmitter’s power output.
- You are not allowed to install power amplifiers.
- Prioritize emergency communications in all channels and frequencies.
Conclusion
Sure, you can use an expensive and top-notch satellite radio to communicate with other drivers during your trip. With a CB (even the basic one), you save more money and have a reliable radio service.
Learning basic CB radio installation will add to your savings and affords you the chance to learn the tricks of the trade, from tuning to troubleshooting. Someday, you might be working with ham radios after perfecting CB operations.

Hello! I am Hart, the content writer and editor here at G0HWC. I used to be in the same local radio club with Howe, and he convinced me to join him in spreading my love for the radio with others. With a background in radio studies, I spend every day crafting accurate, easy to read content on various topics related to owning and using radios. I hope that my content can help you confidently venture in your radio journey!