
If you want to enter the world of amateur radio, you should learn how to build a ham radio from scratch. By doing so, you’ll grasp the basics of radioing while saving money.
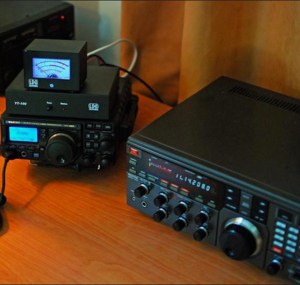
To have a homemade ham radio, you will set up a station composed of the transmitter, receiver, antenna, tuner, and other optional accessories – made possible by ham radio kits.
Once you’ve mastered it, you can help others set up their radio station and maybe earn money, as well.
Contents
Ways to Build a Ham Radio From Scratch
To set up an amateur radio from scratch, your main pal is a basic ham radio kit. To tinker with it, you’ll need the following tools:
- Soldering iron set
- Screwdriver
- Wire stripper
- Wire cutter
- Pair of pliers
It need not be said but don’t buy overly cheap kits and, as much as possible, choose one with pre-mounted technology and a power supply to boot.
Steps to follow:
STEP 1: Be familiarized with the parts and components of the ham radio station
Before working with a circuit board, familiarize yourself with the equipment of your simple radio setup. The printed circuit board (PCB) serves as the “hub” for all things electronic related to your ham.
- Transmitter
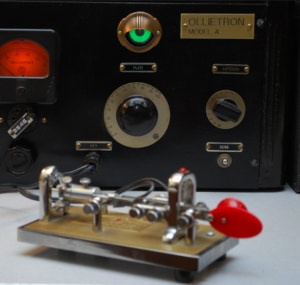
A transmitter, as its name suggests, is the equipment responsible for transmitting or relaying your communication to others. It’s a vital part of a radio setup, like its partner: the receiver.
- Receiver

The receiver is the component that receives broadcasts from others. A base station without a transmitter and receiver is futile. The said equipment can be installed separately, but nowadays, there are so-called transceivers: a dual-purpose unit for those who prefer such a setup.
- Antenna
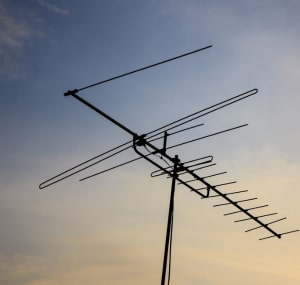
When you set up a ham radio from scratch, you should be careful in choosing and installing antennas. There are many types, but the ones to consider are directional or omnidirectional.
The former directs your unit’s output power in a particular direction – like a direct link. A good example of this antenna ideal for beginners is a Yagi–Uda antenna, which has parallel metal rods.
Omnidirectional antennas, on the other hand, direct output power in various directions, which is preferred by experienced radio enthusiasts. However, these antennas have a hefty price tag.
- Tuner
You should have a tuner to make the most out of your antenna. It optimizes the transfer of power between the transmitter and the antenna. Tuners involve impedance or the unit’s opposition to the flow of the electric current.
The device, in turn, matches the impedance of the transmitter/receiver to that of the antenna, thereby achieving optimum performance and efficient transmission. Others dismiss the importance of a tuner, but for beginners, it will help them be better tinkers.
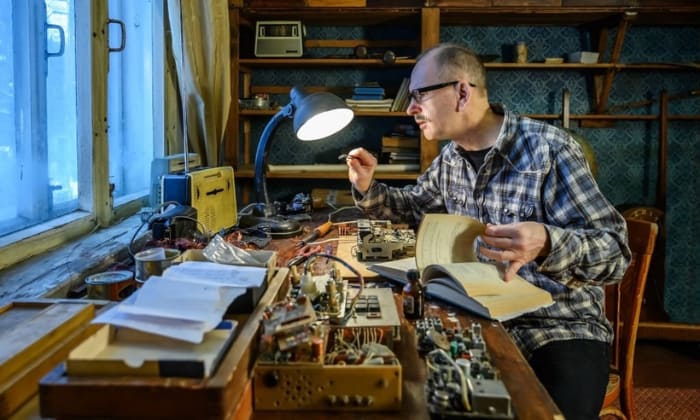
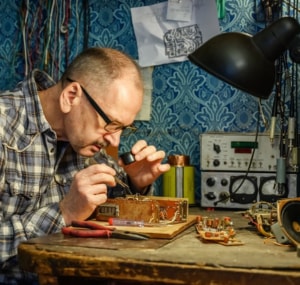
STEP 2: Work with the build-your-own-ham-radio kit
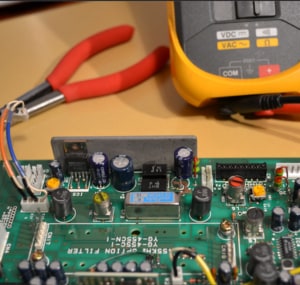
Printed circuit boards (PCB) are those green panels with wires, resistors, capacitors, semiconductors, switches, relays, etc. PCBs are vital in electronic items because it’s like a mainframe where electronic components are connected and power is coursed.
Circuit boards look intimidating for beginners but are easy to deal with because there are amateur radio kits, like those by Heathkit. After all, when you plan to make a ham radio from scratch, you’ll have no choice but to deal with circuitry.
A setup diagram is included in a PCB when you buy one, so you won’t have difficulty building it. Familiarize yourself with a premade starter kit and follow the guide as you link one item to another.
Step 3: Complete the circuit for the ham radio
After completing the electronic kit for the ham radio, the next thing to do is to connect the equipment (transmitter, receiver, and so on). While soldering, do not alter any parts and interchange to avoid malfunction. Proper grounding should be employed, as well.
Before testing your “masterpiece,” do a run-through to see if everything is in the right place. If you correctly worked with the PCB, your radio should work well.
Step 4 (Optional): Build your own PCBs
If you aced tinkering with your first schematic diagram and crave more ham radio projects, then meet Proteus. It’s software that lets you design 2D circuit boards.
One advantage of using software is the chance to redo your work without wasting resources. Oftentimes for first-timers, it’s trial-and-error when creating PCBs, even when you read Instructables’ ham radio guide or any other references.
When you think you have what it takes to work with circuit boards, you’ll search for more radio kits to build, and maybe someday, you’ll be a guiding hand to future newbies.
Tips for Successful Ham Radio Operation
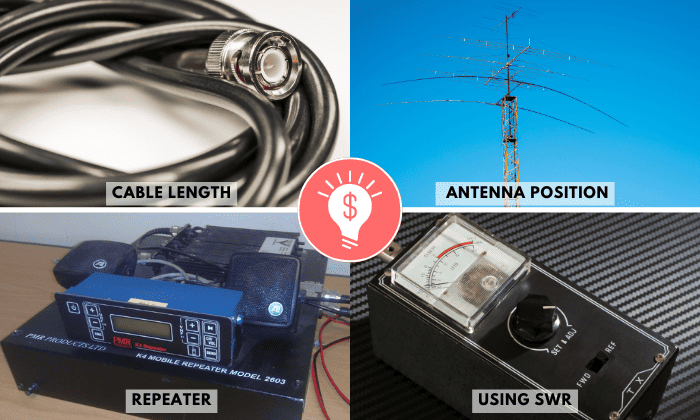
- When working with DIY ham antennas, note that their height and cable length will affect the ham’s performance. Antenna issues are common but can easily be remedied. As for the cables, avoid that they parallel other wires that might cause interference or noise.
- If the reception is poor, check your environment for obstructions like metal structures, hills, or mountains. If that is the case, consider extending or mounting your antenna in a higher position to reach a greater distance.
- A repeater is another equipment to consider for extending the transmission’s range. Though not usually a part of a beginner ham radio setup, repeaters will help you as you further venture into the world of radioing.
- As you collect years of experience, you’ll later realize you need to tune your base station’s antenna/s. To do so, you need a standing wave ratio (SWR) meter, which measures the power of your unit’s transmit signal.
- Conduct regular SWR readings as part of the radio’s maintenance, and depending on the result, you can correct the pain points of your unit.
Frequently Asked Questions
How much does it cost to build a ham radio?
The cost of a ham radio setup is $800 to $1,200. Prepare to shell out more money if you’ll add accessories and buy high-end equipment.
Do I need a license to operate a ham radio?
Yes, you need a license to operate an amateur radio, even if you’re working with a DIY ham radio transceiver kit. There are three licenses from the Federal Communications Commission (FCC):
- Technician: This license is ideal for beginners as the permit allows the usage of 17 frequency bands over 50 megahertz, with access to the high-frequency (HF) range of three to 30 MHz.
- General: This permit gives users access to more HF bands in all the 29 bands available to amateur radio operators.
- Amateur Extra: This license affords enthusiasts access to more HF bands or exclusive sub-bands, hence its name “Extra.”
How far can I communicate with my DIY ham radio?
Depending on the technology used, the maximum reach of a ham radio is 4,000 miles, but realistically, two to 18 miles should be expected, especially if you’re working with a DIY setup.
How long does it take to build a ham radio from scratch?
Allot an hour when setting up your ham radio, with the work on PCB eating up the majority of your time.
Conclusion
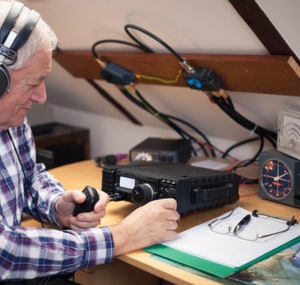
Whether you’re using a portable unit or one included in a base station setup, learning how to build a ham radio from scratch is one good way to be introduced to the world of radioing.
Consider the trial-and-error during the process as your baptism of fire in this hobby. The work is seemingly intimidating, but once you get the hang of it, you’ll crave more radio projects, much so that you might end up helping other newbies.

Hello! I am Hart, the content writer and editor here at G0HWC. I used to be in the same local radio club with Howe, and he convinced me to join him in spreading my love for the radio with others. With a background in radio studies, I spend every day crafting accurate, easy to read content on various topics related to owning and using radios. I hope that my content can help you confidently venture in your radio journey!