
Learn how to program a Motorola radio to get the most out of your unit, especially if you’re a fan of its features. You don’t need to be an expert in advanced programming to do so, and even beginning radio users can quickly grasp it.
When programming Motorola radios, you will need software and a programming cable (for the RDU4100) to configure the settings and features you want to use. There are different radio units out there, and though their setups vary, they are easy to learn. With this skill, you’ll enjoy every second of tinkering.
Contents
Steps to Program a Motorola Radio
You can program the following features of your unit with their default settings indicated below:
- Channel (one to eight)
- Call tones (off)
- Operating frequency (one to eight)
- Microphone gain (two)
- Interference eliminator code (one)
To program the channel and radio frequency, follow these steps:
- In programming mode, press the menu button until you see the channel number blinking alongside the FREQ and CODE displays.
- Press the plus (+) and minus (-) buttons to select your preferred channel.
- To continue programming, press the menu button until the desired frequency appears.
For advanced programming like the interference eliminator code, follow the same steps above. For call tone, your alert for programming is when the call (CA) displays, while G is the alert for tinkering microphone gain.
Once done, you can exit the programming mode by pressing the PTT button. Otherwise, press the menu button to continue programming.
Detailed Steps for Various Motorola Two-Way Radio Models
As mentioned, you’ll need to download a Motorola radio programming software or have a programming cable to tinker with your unit. Here are ways to do so, depending on what type of radio you own.
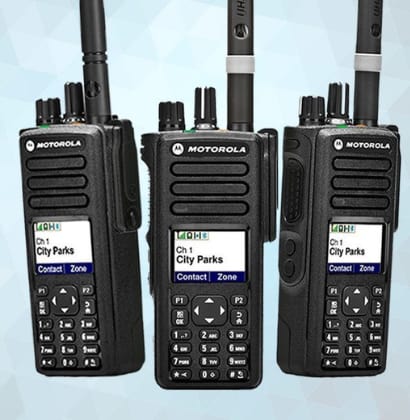
1. XPR7550 Model
- Download the Motorola Customer Programming Software (CPS) before you contact a dealer.
- Choose over-the-air as the communication method in the Motorola Device Programmer Settings.
- Click ‘Test Connection’ and check if the connection is successful.
- Create an over-the-air programming (OTAP) key.
- Create a new radio so you can input data like the serial number.
- Click ‘Read’ or ‘Write’ to configure and set your preferred program
- Your radio’s LED light should be blinking green, indicating that it’s retrieving files via over-the-air transmission.
- Depending on your configuration, you may hear a chime and a display showing “Updating Restarting” after the transmission is completed.
- You can either choose “Restart” or “Postpone” to finish setting up your radio.In either case, if the programming is successful, the ‘Sw Update Completed’ alert will pop up. Should it fail, ‘Sw Update Failed’ will appear. (Sw stands for software.)
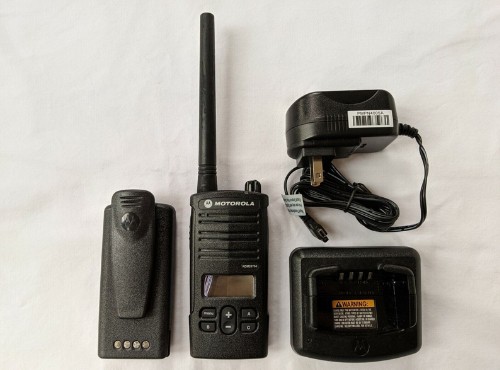
2. RDU4100 Model
- Download the Motorola CPS on its website.
- In the CPS, switch to the Advanced Configuration Mode.
- Choose the option for frequency and select your preferred option among the 89 choices.
- Choose your preferred radio frequency among the 89 choices by turning the Channel Selector Knob. Since the radio doesn’t have a display, you’ll hear a voice prompt helping you with the navigation.
- Press the PTT button to check the other settings you want to configure. Meanwhile, the SB1 and SB2 buttons are for changing values.
- Save the new settings by pressing the PTT button for 3-5 seconds. This will also return you to the “Idle Programming” mode.
3. RDM2070D Model
- Press and hold the SB1 and PTT buttons simultaneously for 3-5 seconds to enter the programming mode.
Once successful, a beep will sound and the LED indicator will blink green continuously. By this time, you should see a “PROG” icon on the screen.
- Use the + and – buttons to select your preferred channel.
- Press the PTT button until the PL or DPL option appears. Use the + and – buttons to select your preferred code.
- Long press the PTT button to save your settings.
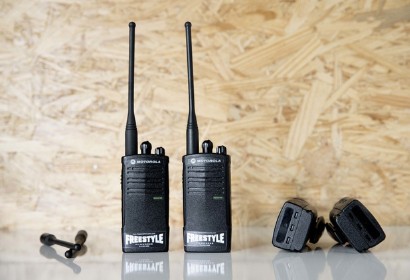
4. CLS Series Model CLS1410
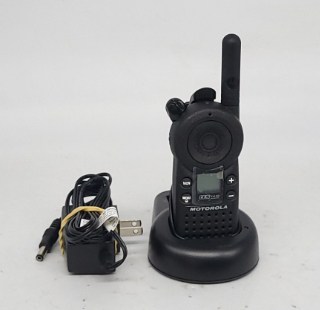
Programming is needed for this model, especially when you link it to another unit, say to a computer. To configure it, follow this guide:
- Turn off the radio.
- Enter the Programming Mode by simultaneously pressing the MON and PTT buttons. While keeping your fingers on the buttons, turn on the radio.
- Keep pressing MON and PTT until you see the “PROG” icon flash on the screen. Likewise, the channel number will blink alongside the code and frequency displays.
- Press the menu button, then select a channel using the + and – bu
- If you want to configure other settings like the frequency, click the menu button again. Otherwise, hold the PTT button to save and exit.
Lastly, when programming an SL300 model, you must set up the CPS on a PC and then connect the radio. Afterward, start the programming by choosing the desired settings.
5. Motorola Solutions RDU4160D

- Enter the programming mode by pressing the PTT and SB1 buttons for 3-5 seconds.
- To change the frequency setting, rotate the knob to change channels.
- Press the menu button to reveal the frequency reading, then use the A and B buttons to change the value.
Do the same steps for advanced programming, such as configuring the code, scrambling feature, number of active channels, call tone, microphone gain, and automatic scan.
6. Motorola CP200
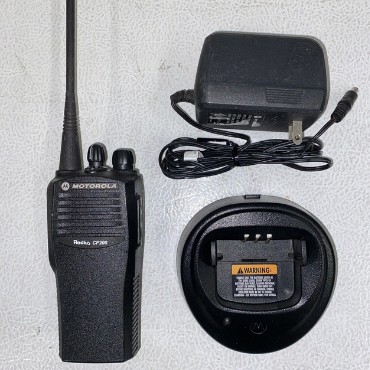
- Press the squelch button to prevent interference while you tinker with the unit.
- Use the knob to select the channel you want to work with.
- Press the ‘Power Level’ button and select the low power mode to conserve battery.
- Use the knob again to select the channel you want to remove from your scan list. Press and hold the ‘Nuisance Channel Delete’ button. The configuration is successful when you hear a beep.
Conclusion
Learning how to program a Motorola radio is useful to get the most out of your unit. After all, these radios teem with features that always come in handy, whether you’re a newbie or an expert enthusiast.
Tinkering with two-way radios is not rocket science, and you don’t need much, not even a manual – but that’s an advantage. There are many Motorola models, but don’t be intimidated, as the steps are easy.

Hi there! I am Howe, and I am the founder of G0HWC. I have been a radio enthusiast for as long as I can remember. I live and breathe radio, always taking the chance to blabber about it when customers seek my radio mechanic services.
Five years into working as a radio mechanic, I realized that most people struggle to fully understand the different complex aspects of owning and using a radio, though they understand the importance of having one.
And it dawned on me: I can put my blabbering to good use!
I started G0HWC to blabber all I want and help others who are not yet well-versed in radio language in doing so.